Setting up Continuous Deployment of your Node application to DigitalOcean
This article will help you setup a Node.js project with continuous deployment to a DigitalOcean droplet, using Semaphore CI and PM2.
What you'll need:
- A DigitalOcean account.
- A local dev box that has your Node.js application and runtime installed.
- A BitBucket or GitHub account that has the repository with your application code in it. For this article's purpose I'm going to assume your code is on BitBucket. The steps for GitHub would be no different. Most places you can replace
bitbucket.comwithgithub.comand commands should work. - A Semaphore CI account that has been linked to your repository and has a passing build job created.
Once this setup is complete, you will be able to commit changes to your repository from your local dev box or Vagrant VM and have it automatically built and deployed to the configured DigitalOcean droplet via a CI job.
1. Create and configure a DigitalOcean droplet.
Use the DigitalOcean UI to create an Ubuntu 14.04 droplet. For demonstration purposes, I'm going to use the smallest instance available. For real life production use cases, depending on the scaling needs you have, feel free to pick a more configured box.
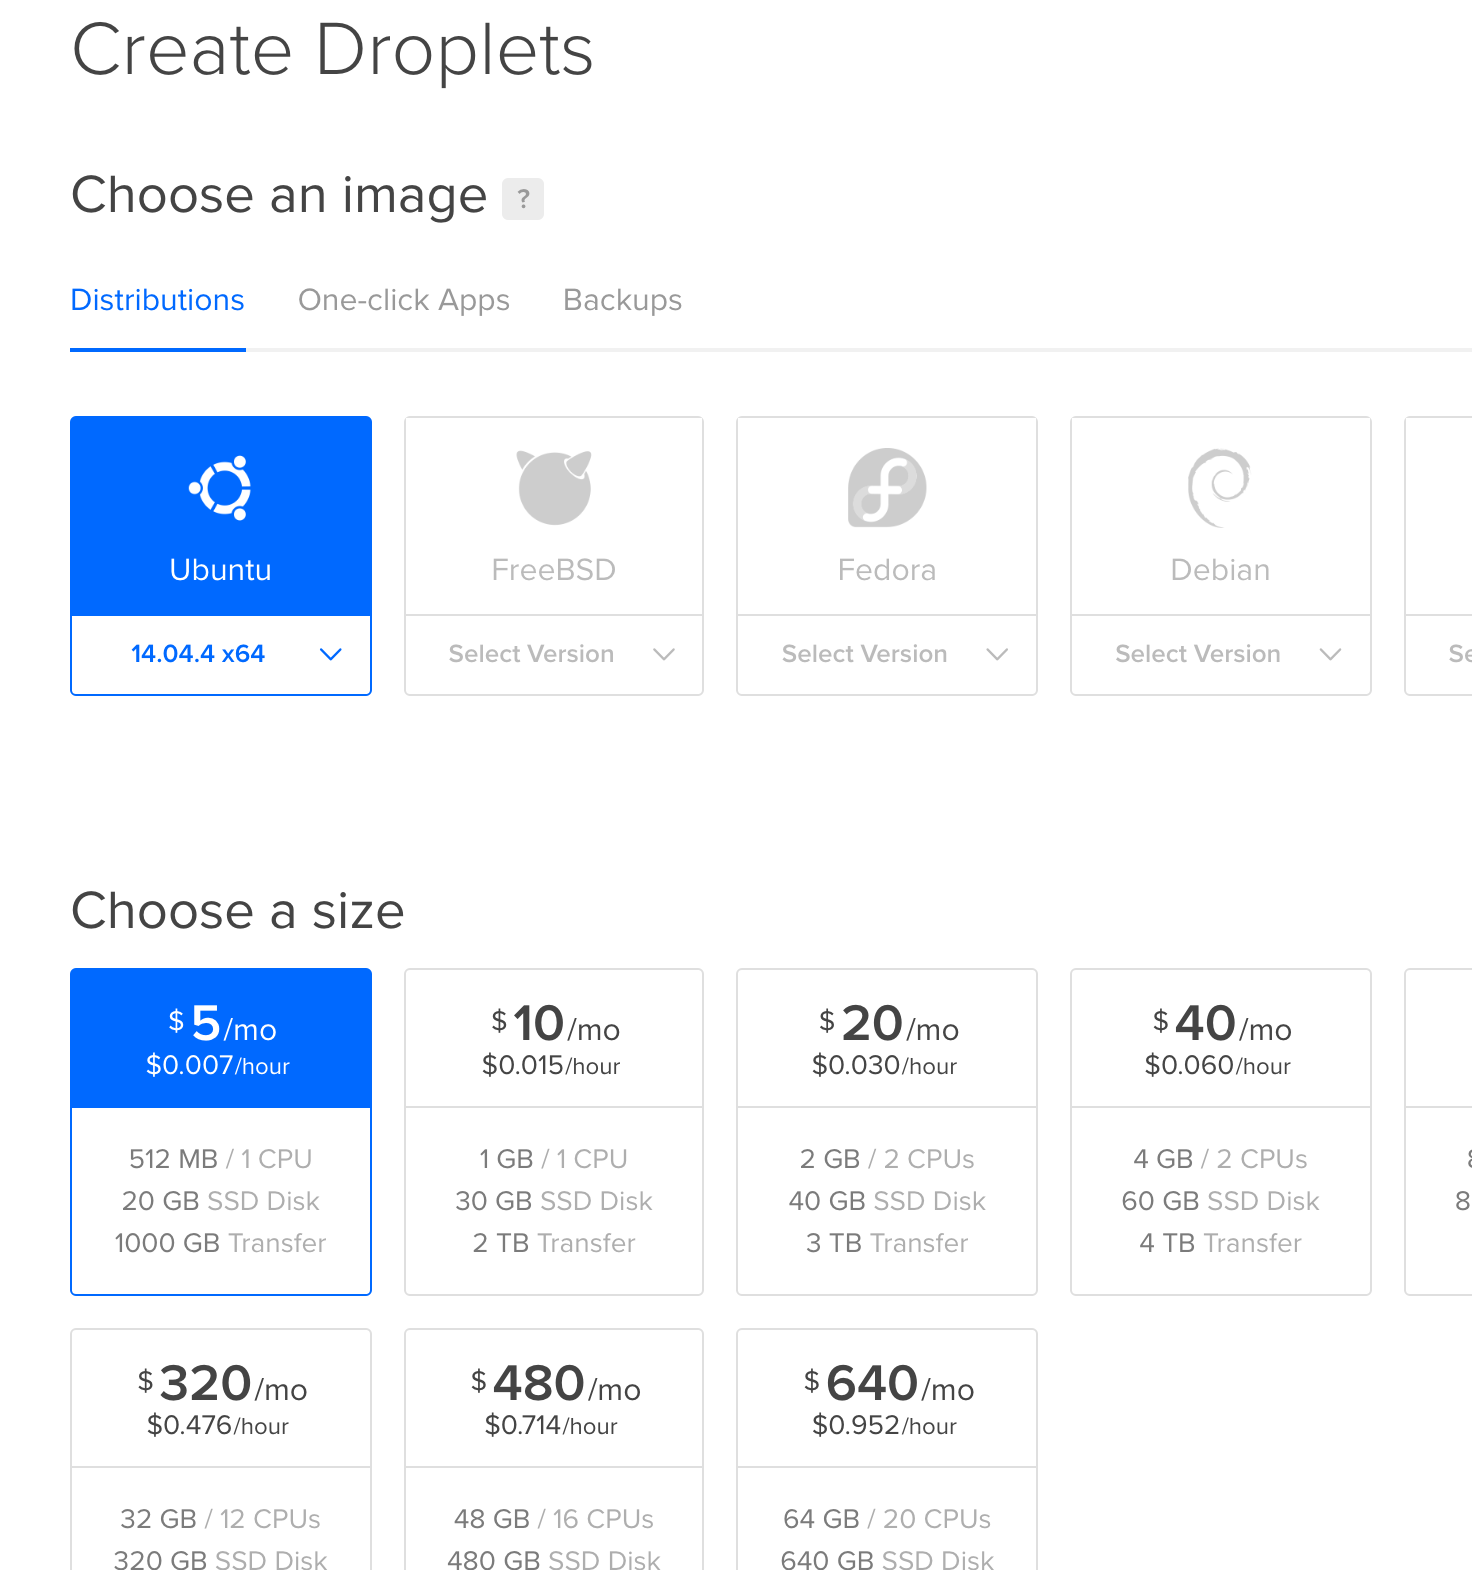
Make sure to check the SSH Keys section and provide your local development box's public SSH key (id_rsa.pub contents) to DigitalOcean so you can login without a password for root. The password-less login is only a preference, but is recommended.
Through the rest of the article, I will be referring to the public IP address of this droplet as DROPLET_IP. Anytime you see this, replace it with the public IP of your droplet.
Login to your newly created droplet with:
ssh root@DROPLET_IP
PS: Please follow the guide at https://www.digitalocean.com/community/tutorials/how-to-add-swap-on-ubuntu-14-04 to setup more swap memory on the droplet. This will help you run more sizable Node projects and prevent NPM installations from failing due to lack of memory.
2. Create a user who will deploy.
We are going to create a safe account to deploy and run code, for more security. We will name this account deploy.
# Create the user "deploy".
useradd -s /bin/bash -m -d /home/deploy -c "Deploy user" deploy

# Set a password and confirm it. Remember to note this down.
passwd deploy

# Allow deploy user to run sudo commands
usermod -aG sudo deploy
3. Configure the DigitalOcean droplet with necessary software and runtimes.
Let's login to the droplet as the newly added deploy user:
ssh deploy@DROPLET_IP
Let's update the software packages and install any essential items:
sudo apt-get update
sudo apt-get upgrade
sudo apt-get install build-essential
sudo apt-get install git vim openssl libssl-dev
4. Install NVM and Node 0.10
We are going to use NVM to run Node, for the purpose of this article. NVM makes life a lot easier in managing Node versions, to quickly test upgrades or even to debug issues with certain Node versions.
curl -o- \
    https://raw.githubusercontent.com/creationix/nvm/v0.31.0/install.sh | bash
source ~/.bashrc
nvm install 0.10
nvm alias default 0.10
5. Install PM2
PM2 is a very advanced, production process manager for Node. It will make sure that our application is running all the time, despite any crash and through reboots of the server. Install PM2 globally with:
npm i -g pm2
Now, PM2's deploy command (which we will user later via the automated CD job) runs via a non-interactive SSH session. Edit your ~/.bashrc to allow this.
vim ~/.bashrc
Comment the following lines:
#If not running interactively, don't do anything
#case $- in
#    *i*) ;;
#      * return;;
#esac
Now, let's create the folder where our site would be deployed and configure its ownership and permissions:
sudo mkdir /var/www

# Let's add deploy user to group www-data as a standard practice.
sudo adduser deploy www-data

sudo chown -R www-data:www-data /var/www
sudo chmod -R g+wr /var/www
6. Create SSH keys for deploy user
We need to set up an SSH key for the deploy user, which can be shared between the droplet and the actual CI user (Semaphore CD job).
We will do this on our local development box for convenience (your Mac, for example).
cd ~/.ssh
ssh-keygen -t rsa -b 4096
When it prompts you for a file name to save the key in, enter digitalocean_deploy_id_rsa instead of choosing the default. No passphrase required for simplicity.
Copy the contents of the public key file to clipboard with:
cat digitalocean_deploy_id_rsa.pub | pbcopy
SSH into droplet as deploy user and paste the public key into ~/.ssh/authorized_keys file.
ssh deploy@DROPLET_IP

# Paste the public key into authorized keys file.
vi ~/.ssh/authorized_keys
From your local box, you can verify that deploy user can login for actual deployment, without a password prompt with the following:
ssh deploy@DEPLOY_IP -i ~/.ssh/digitalocean_deploy_id_rsa
7. Create a BitBucket or GitHub access SSH key
PM2 during deployment reaches out to the source code repository to get latest code for deployment. Thus the user deploy needs an SSH key created and that needs to be entered into your BitBucket or GitHub account.
To do this, SSH into your droplet as deploy user and generate a new SSH key.
ssh deploy@DROPLET_IP

cd ~/.ssh
# Use default values for everything and no password.
ssh-keygen -t rsa -b 4096

cat ~/.ssh/id_rsa.pub # and copy the output
Enter the copied public key to your BitBucket or GitHub account. Both providers have provided instructions in their Help sections on how to integrate this into the account.
To get the host signature of bitbucket.com for deployment initiated connections, run the following. This will fetch the host signature of the repository provider and store it in the known hosts file.
ssh-keyscan -p 22 -H bitbucket.org >> ~/.ssh/known_hosts
Finally, you can test if the access is working by running the following from the droplet as deploy user.
ssh -T [email protected]
8. Setup local PM2 and perform deployment setup.
On your local development box, install PM2 globally.
npm i -g pm2
PM2 uses an ecosystem.json which you can create locally at the root of your source folder, via running pm2 ecosystem. Here's a sample ecosystem.json that we will use with our helloworld application:
{
  "apps": [
    {
      "name": "helloworld",
      "script": "app.js",
      "exec_mode": "fork",
      "instances": "max",
      "env_production": {
        "NODE_ENV": "production"
      }
    }
  ],
  "deploy": {
    "production": {
      "user": "deploy",
      "host": "DROPLET_IP",
      "ref": "origin/master",
      "repo": "GIT_REPO_URL",
      "path": "/var/www/production",
      "post-deploy": "npm i && pm2 startOrGracefulReload ecosystem.json --env production",
      "forward-agent": "yes"
    }
  }
}
Replace DROPLET_IP and GIT_REPO_URL with appropriate values.
PS: The exec_mode of fork will resolve PM2's incompatibility with certain Node versions that prevent it from relieving the port on stopping the server.
Once you have this file created in your local repository root, run the following, locally:
pm2 deploy ecosystem.json production setup
This command will run the initial setup for PM2. This will reach out to the Droplet, create necessary container folders, reach out to the repository and pull the latest code, etc. This will succeed if you have followed the instructions correct. If not, trace back and find what you missed.
Now we have the deployment folders created on the droplet by PM2 and we're ready to setup the Semaphore CD job.
9. Setup a Semaphore CD job.
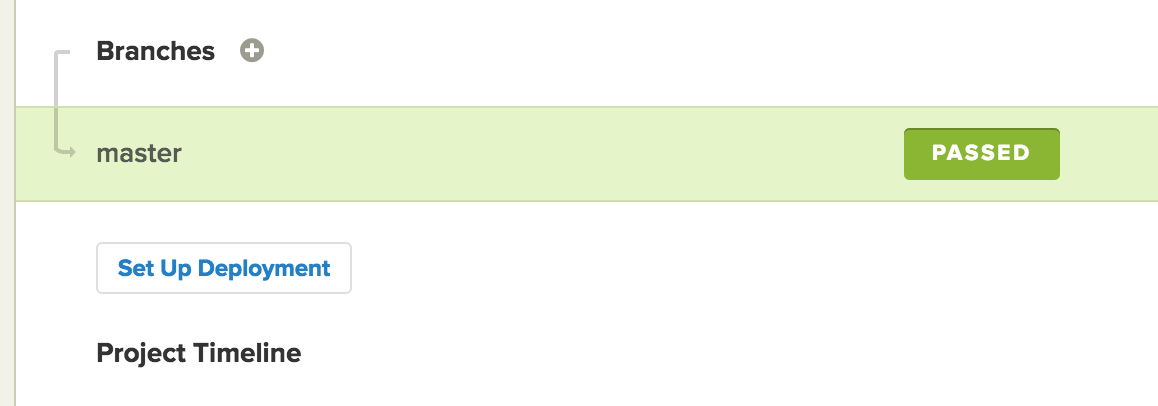
Create a new project and give Semaphore access to your source code repository. Once it's setup and you are able to run a build, you can proceed to setting up a deployment step.
Start by clicking the Setup Deployment button.
On the deployment target selection screen, select Generic Deployment at the bottom, followed by Automatic in the next screen.
Select the branch you would like to deploy from. If you are not sure, select master.
In the next screen that asks for deployment commands, enter the following three commands. Make sure to replace the DROPLET_IP with the public facing IP of your droplet.
# Install pm2 to run the deploy command
npm i -g pm2

# Add this server as a known host, since we cannot confirm that during a build.
ssh-keyscan -p 22 -H DROPLET_IP >> ~/.ssh/known_hosts

# Run the deployment command
pm2 deploy ecosystem.json production
The subsequent screen will ask for a Private SSH Key for deployment. This is the private key of the file we generated locally on your dev box. To copy that to clipboard, run:
cat ~/.ssh/digitalocean_deploy_id_rsa | pbcopy
Paste it into the text box and hit Continue. In the next screen, give an appropriate name for the server (the name of the droplet, for example) and hit Finish.
We are now ready to do our first deployment via this CD job.
You can hit the Deploy button on the next screen, or make a new commit. For each new commit that's on the branch you selected (in this case, master), a build will be triggered. Once passed, Semaphore will subsequently start an automated deployment for it.
Once the first deployment is complete, you can hit the IP and port of your application in a web browser to see your application running via PM2.
To test, open a browser and hit: http://DROPLET_IP:3000/. Voila! Your app is now running on the droplet, deployed via a continuous delivery pipeline.
Now, there are a few steps pending to take this close to a production setup.
10. Setup PM2 to run a service
We want PM2 to automatically start during a system boot and run the application server. Also we want PM2 to restart the application in case of a crash. To do this, SSH into the droplet as deploy user and run the following:
sudo env PATH=$PATH:/usr/local/bin pm2 startup -u deploy
In order for PM2 to auto-start our application, we need to save the process list. First verify the process list is correct by running:
pm2 status
If everything looks good, run:
pm2 save
11. Host Node on port 80 (optional).
In UNIX-like systems, non-root users are unable to bind to ports lower than 1024. We need to allow Node to run port 80 so that we can drop the :3000 port suffix on our application. Run the following two commands:
sudo apt-get install libcap2-bin
sudo setcap 'cap_net_bind_service=+ep' $(readlink -f $(which node))
Now you can commit another revision of the application that runs on port 80 by default and the newly built CI/CD pipeline would deploy the application to port 80 on the droplet.
